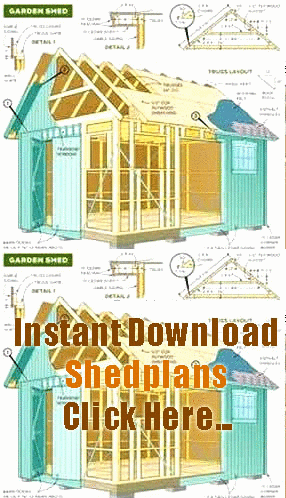
The Ultimate Guide to Building your own Shed
The Ultimate Guide to Building Your Own Shed
Introduction
Building your own shed can be a satisfying and fulfilling experience. Not only will you have a valuable addition to your property, but you’ll also have the pride of having built it yourself. However, if you’ve never done it before, the process can seem daunting. Fear not, because this ultimate guide will walk you through every step of the process so that you can build your own shed with confidence!
Table of Contents:
- Step 1: Determine Your Shed’s Purpose and Location
- Step 2: Choose Your Shed Design
- Step 3: Gather Materials and Tools
- Step 4: Build the Foundation
- Step 5: Construct the Frame
- Step 6: Add Windows and Doors
- Step 7: Install the Roof and Siding
- Step 8: Finish the Interior
- Step 9: Add the Final Touches
Step 1: Determine Your Shed’s Purpose and Location
Before you begin building your shed, you need to determine its purpose and location. Will it be used for storage, as a workshop, or a combination of both? Once you know its purpose, you’ll be able to figure out how much space you need.
Next, you’ll need to choose a location for your shed. It should be in an area that is level and dry. Make sure there is enough room for the shed and for you to move around it, as well as any equipment or vehicles you may need to use.
Step 2: Choose Your Shed Design
Now it’s time to choose your shed design. There are many designs to choose from, ranging from simple and practical to elaborate and decorative. Consider the size and style of your home, as well as your budget, when choosing the design.
Step 3: Gather Materials and Tools
Once you have your design in mind, it’s time to gather your materials and tools. This will include lumber, roofing materials, nails, screws, and any other necessary hardware. You’ll also need tools such as a saw, hammer, level, and drill.
Step 4: Build the Foundation
The foundation is one of the most important parts of your shed. It needs to be level and secure to support the weight of the shed. There are several types of foundations to choose from, such as a concrete slab or a gravel and stone base.
Step 5: Construct the Frame
Once the foundation is in place, it’s time to build the frame of your shed. This will involve cutting and assembling the lumber into the shape of your shed. Be sure to follow the design plans carefully to ensure the frame is sturdy and square.
Step 6: Add Windows and Doors
Next, you’ll need to cut and install any windows and doors you plan to have in your shed. Be sure to measure carefully to ensure they fit properly.
Step 7: Install the Roof and Siding
The roof and siding are the final exterior elements of your shed. You’ll need to choose the appropriate material for both, such as shingles or metal roofing, and vinyl or wood siding. Make sure to properly weatherproof your shed to protect it from the elements.
Step 8: Finish the Interior
Now it’s time to finish the interior of your shed. This will involve insulation, wiring, and any other finishing touches you want to add. Consider your needs and budget when selecting interior elements.
Step 9: Add the Final Touches
The final step is to add any additional touches to your shed. This could include a coat of paint or stain, shelving, or tool racks. Make it your own and enjoy the satisfaction of having built it yourself!
Conclusion
Building your own shed may seem overwhelming at first, but with careful planning and attention to detail, it can be a rewarding experience. With this ultimate guide, you have the information you need to confidently build your own shed. Good luck and happy building!
Related Searches
Keywords: SEO, shed building, shed design, building materials, shed construction, shed foundation, shed frame, shed windows and doors, shed roofing and siding, shed interior, shed finishing touches.
